Tag Archives: Arduino

Wireless Home Monitor System

Over the past five years or so, I’ve been tinkering with wireless monitoring in my home. One of my first projects in 2010 was the Remote Fuel Oil Gauge that used the OnShine RX/TX pair at 433 MHz.

Shortly after this, I began to explore home environmental sensing, using a new internet service called Pachube (then Cosm, now Xively). I built an internet-linked environmental sensor that’s now installed in my office at NSCAD.

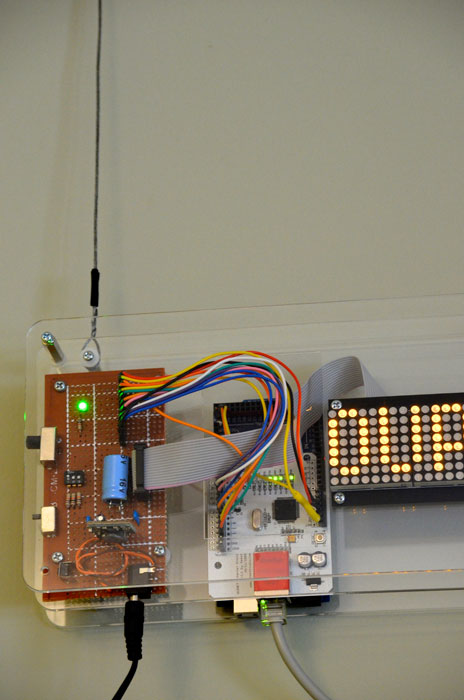
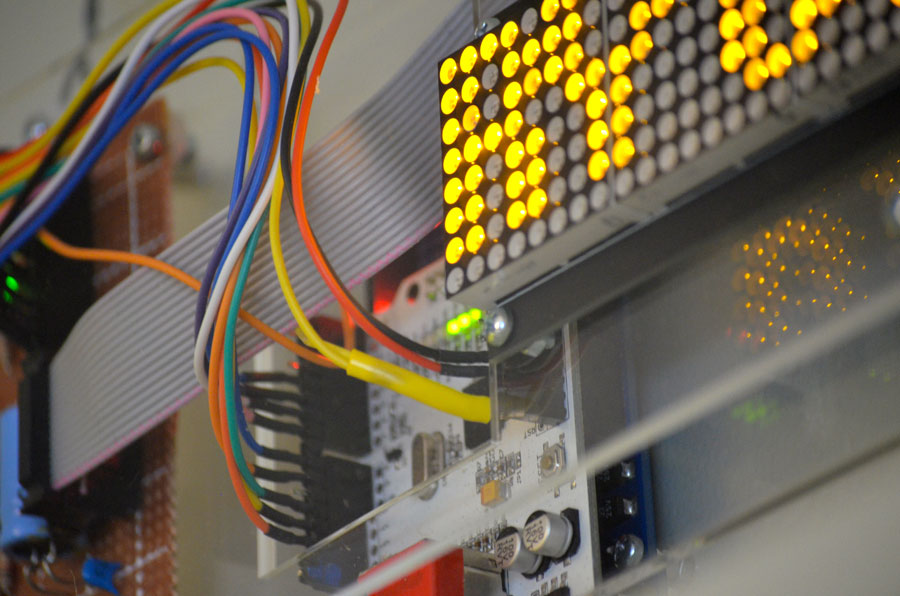
Next step was to build sensors that could wirelessly send data to a base station that would relay it to a central repository on the internet. To do this, I used Jean-Claude Whippler’s JeeNode library that enables the Hope RF12 and RF12B to communicate with each other and a base station JeeLink that can connect directly to a Raspberry Pi using its built-in USB.

Home Sensor Configuration

The basic configuration is comprised of the RPi and Python control and communication software that accepts the data from the JeeLink, does some conversions, and then sends it along to Xively. Xively handles the graphing.

Sensor Units

  • Basic Temperature only unit using DS1820
  • Basic Temperature and Humidity unit using DHT22
  • Garage unit: one DHT22 for garage, another DHT22 for “worm box”—Dorothea gives food scraps to worms, which process the scraps to good soil for the garden—plus a carbon monoxide sensor and a garage door open sensor
  • Office unit: one DHT22 plus a PIR sensor to detect activity in the office
  • Kitchen sensor unit: one DHT22. Solar powered.
  • Backyard Shed sensor unit: one DHT22. Solar powered.
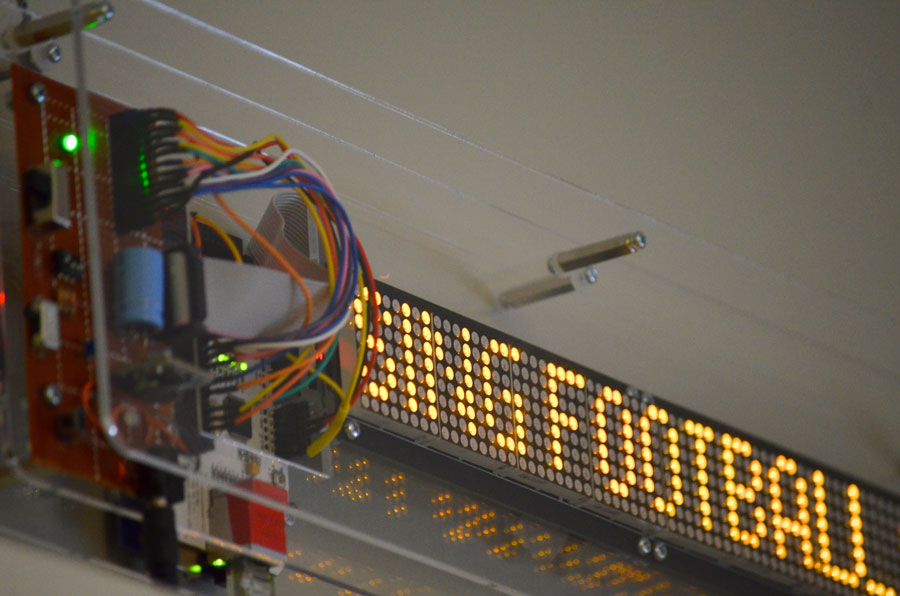
Display Unit

There’s one LCD display on the kitchen refrigerator door that displays data from the Garage unit; if the garage door is open, a redLED blinks at .5 Hz.

More on various aspects of the system… later.

Media Circus Book Now Available

Media Circus Cover Front and Back

Media Circus is an electronic, internet-enabled scrolling marquee that displays amusing news headlines. Media Circus uses @generalxcentric’s daily tweets, which are cutups of contemporary news headlines from the CBC and the Toronto Globe and Mail.

The 176-page full color softcover book describes the theory and design of the marquee, and illustrates 365 of the cutups from 2012.

Media Circus is the subject of an earlier post on how to use Tellymate to debug, and an even earlier 2011 post introducing the concept.

Download the Arduino code and the schematic.

Guide to Burning Arduino Bootloader using ZeptoProg II and AVR Studio

If you’re interested in working with Arduino microcontrollers, eventually you become hip to the idea that you don’t need to buy expensive Arduino UNOs for your projects. It’s relatively simple to wire up your own minimal Arduino, saving 80% under the cost of an UNO or Duemilanove. I develop on a Duemilanove, and when I need to commit the work to the final project, I can pop out the ATmega328 chip that’s in the Arduino and plug in a fresh ATmega328 to program it. Actually though, you can’t just use any ATmega328 chip — it needs to have a “bootloader” program flashed onto it before it can work with the Arduino system. You can buy ATmega328’s with the Arduino bootloader, but these go for around $4.00 each. You can buy the same chips without the bootloader for about a dollar less, or more than that if you buy in bulk.

To install the bootloader software, you need a device that hooks into the ISP plug on your UNO or Duemilanove. I had an AVRISP mkII that I bought a few years ago, but it stopped working so I needed a replacement. Although I could use my BusPirate as an AVR Programmer, the documentation for that uses the command-line AVRDUDE to communicate with the chip. I wanted to use a toolchain I was more familiar with, the free AVR Studio, version 4.

I bought the replacement a couple of months ago on ebay: ZeptoProg II is an inexpensive AVR programmer with USB interface, and works with AVR Studio. It also sports a 4-line logic analyser and frequency output and measurement, and a few other widgets that I probably won’t ever use.

Most of the time involved in setting things up relates to installing AVR Studio. The version I use is 4.18, so you need to download the core version and then upgrade it incrementally with several service packs. Although I’ve been a Mac person since 1984, I develop on a Win7 netbook partly because AVR Studio on Mac OS X has not been kind to me.

The Guide

I’ve prepared a PDF Guide to Burning Arduino Bootloader using ZeptoProgII and AVR Studio.

Once you’ve mastered this, you can go on to bypass the Arduino altogether: for example, if you are running out of space on your ATmega chip, you can erase the bootloader — gaining about 2k — and use the programmer to flash the HEX file that you created when you compiled the Arduino program onto the chip. An added bonus to removing the bootloader is that on power-up or reset, your project starts faster because it doesn’t have to run the bootloader code.