I’ve had three opportunities to ask a design class to reorganize the desks in a classroom to better facilitate design activity. Because design is the practice and study of the artificial world, everything that we do has a design element, even the mundane task of moving furniture around a classroom. I would even go so far as to say that this seemingly simple task is a comprehensive design exercise that includes solitary design work, teamwork, recursion, and complex communication and decision-making.
The first two exercises were at NSCAD with Interdisciplinary Design students in their second year, and then last month at Foshan University with a fourth-year class of Industrial Design students. None of these instances were premeditated. The results of this latest effort provide a few insights into the differences—and similarities—between the Chinese and Canadian groups.

To place this day in context, I was offered the chance to conduct a 7-day design workshop with Prof. Jack Fan’s Industrial Design students. The first day (with Jack interpreting for the students whose English was poor), was an introduction to the project, which I will talk about in a later post. Each class was to take place from 9am to noon in a classroom on the 9th floor of the university’s “Main Building”. On that first day, the class sat at tables arranged in the traditional manner, with instructors facing the back of the room and the students facing the front.
9:00 – 9:40

On day two, Jack gave his regrets; as Assistant Dean for the Design School, he had meetings to attend. So he asked Phoebe Guo, an interior design instructor—and, like Jack, a graduate of RMIT—to act as language and cultural interpreter. When the students had assembled at 9am, I looked at them from the front of the class, and they looked up at me expectantly. “This doesn’t look right,” I thought to myself. I didn’t want them to be asking me what to do all the time. I wanted them to think for themselves. What kind of “famous foreign professor” would I be if I didn’t push the critical-thinking/democracy/teamwork thing on them? But seriously, I needed to break down the hierarchy because I was depending on them to develop their own ideas and solutions to the design challenge. I didn’t want them waiting for me to tell them what to do, so I thought, “Oh, what the heck”. So after giving fair warning to Phoebe, who seemed up for the challenge, I gave them an assignment:
As a group, collaborate to re-organize the desks and chairs in the classroom in any design except for the current arrangement with me at the front and you facing me. Your re-arrangement must facilitate review and discussion of design ideas, so there must be a way for the instructors and the class to walk around the room to look at sketches.

I didn’t specify a time limit for this assignment because I thought that they would be done in a half-hour or an hour, maximum. I based this estimate on the time required by NSCAD students in the previous two instances. The method they employed was for several of the boys to discuss, argue and move desks around. The girls, although interested, hung back. By 9:30, the scraping of the tables on the concrete floor was starting to get on my nerves* and they didn’t seem to be any closer to a solution.
9:40 – 11:00

After a quick conference with Phoebe, we decided to give some additional structure to the assignment: I asked them to
- form into three groups. Each group needed to have an equal number of men and women.
- work in groups to develop a design proposal using proxies (small pieces of paper representing the tables that they could shift around noiselessly).
- present their proposals to the class and then the class would vote on the best proposal.

In Canada, this would not be a problem. They would pull out their toolboxes and sketchbooks and get to work. In Foshan, the students had notebooks and pens/pencils, but no scissors or knives—typically a class is a sit-down, get the dope from the teacher and then go off to the dorm to compete the assignment. But they improvised.
The Foshan students were also unfamiliar with teamwork. After watching them for a while, I placed each student into one of five categories:
-

This group, working as individuals Gregarious males who took on group leadership positions. They guided the design process in each group.
- Outgoing women who actively participated—most of the women in this category had just returned from two weeks at RMIT.
- Males who hung back to observe. Otherwise known as social loafers.
- Females who sat passively and watched others in the group work.
- Males who had “checked out” and worked on their own.


Phoebe remarked that a couple of the males in the 5th category complained about the assignment and could not understand the purpose of it. After about 30 minutes, I asked each group to show us their ideas. One drawback of the paper proxy method became apparent when the students showed me the seating plans in their designs. Most students failed to catch on that the classroom desks, because of a horizontal bar at knee level, were not designed for seating at the table ends. I asked them to consider this, but they seemed to think that this was not so much a problem for them. When they tested it out, they discovered that the table legs did interfere, but they felt that they would be able to adapt. This brings up an interesting question about their design judgement: would a group of design students from another country—Japan, for example—be as tolerant? And if not, what might this say about China’s prospects to become a world design powerhouse?

Also, at this point, some of the group members began to move to other groups to look over the other designs and chat about the various aspects of the designs. When the group leaders wandered over to other groups, I thought a consensus might develop and a vote might not be necessary. But it was.
11:00 – 11:40
Each group presented their design and after much discussion, they decided to vote. Then the question was: how do we vote? About 15 minutes of back-and-forth, they decided to vote using the following rules:
-

Group Two’s design one vote per person
- you may not vote for your own design
- in the event of a tie, the design with the fewest votes will be dropped from the balloting

I don’t remember if it was a secret ballot, but I was quite impressed with their vote design; once they had decided on the rules, the rest was fast and easy. There was no tie, and the best design won.
Conclusions

After one workshop with Chinese students in China, it’s difficult to make generalizations, but I can offer these impressions:
- The Chinese students took longer than Canadian students to complete the assignment. I think part of this is due to the general unfamiliarity with group work in Chinese education. Time was probably wasted because of this unfamiliarity and additionally because of resistance to the assignment. Not all of the Foshan students considered this a design problem, so there may have been some foot-dragging. Group work is not a big factor in my teaching, because I think that the best design work is done by individuals in a solitary environment. But there are situations where designers need to work in concert with others and the skills that are required in these situations are different and complementary from that of classical design education.
-

Discussing the merits of each design I think that the brightest Foshan students understood the root of my desire in this assignment, which was to undermine in a very physical (and noisy way!) the system of hierarchy that cuts across all aspects of their education system. The rows of desks facing the front, the lectern facing the back of the room, the teacher telling the students what to do and how to do it: this is the Chinese model. I do not think that design is always taught this way at Foshan—especially with western-educated instructors like Jack Fan and Phoebe Guo—but I think that it is a default state of mind that is comfortable for both faculty and students. These attitudes are reinforced through the entire system: macro-educational aspects also mitigate against change. The design curriculum and individual course content is defined not by the school but by the government. As a result, to give an example, visual communication majors in China are not taught HTML, Javascript, app-making or any ‘back-end’ technologies. These very necessary aspects in graphic design education are only taught to computer science majors, and as a result, designers in China do their work in Photoshop and then “throw it over the wall” to developers. This used to be common design practice up until the 1970’s in the West, but the news hasn’t reached the top.
-

You’ve made your bed, now sleep in it Group dynamics among the Foshan students was also different from my students in the west: in Canada, students have a refined sense of egalitarianism. If anyone takes on the role of group leader without first passing several stages of group interaction, they are usually slapped-down with the proverbial “Who do you think you are?” In contrast, Chinese students default to having a leader quickly emerge who is usually male and a top student scholastically. I’m not intimately familiar with the group dynamics during the design process at this stage, so I cannot go into detail, but my observation is that there’s much give-and-take in the group sessions, but that the group is ‘moderated’ by the leader.


* My bête noir on this trip to China was the sound of chairs and desks scraping on concrete floors. During my stay at Foshan University, I was domiciled in the International Centre, which was (mostly) a men’s dorm. I was on the second floor of a four- or five-storey building. There was activity in the room above me, as was evidenced by the very loud and reverberant scraping of chairs, which would interrupt my sleep two or three times a night. This was (of course) not done on purpose, but it did make me question my understanding that electricity in the dorm rooms was turned off every night at 11pm. It may have been, but it was no guarantee that some students would be burning midnight oil for one reason or another.


 As the first completed piece in the series “
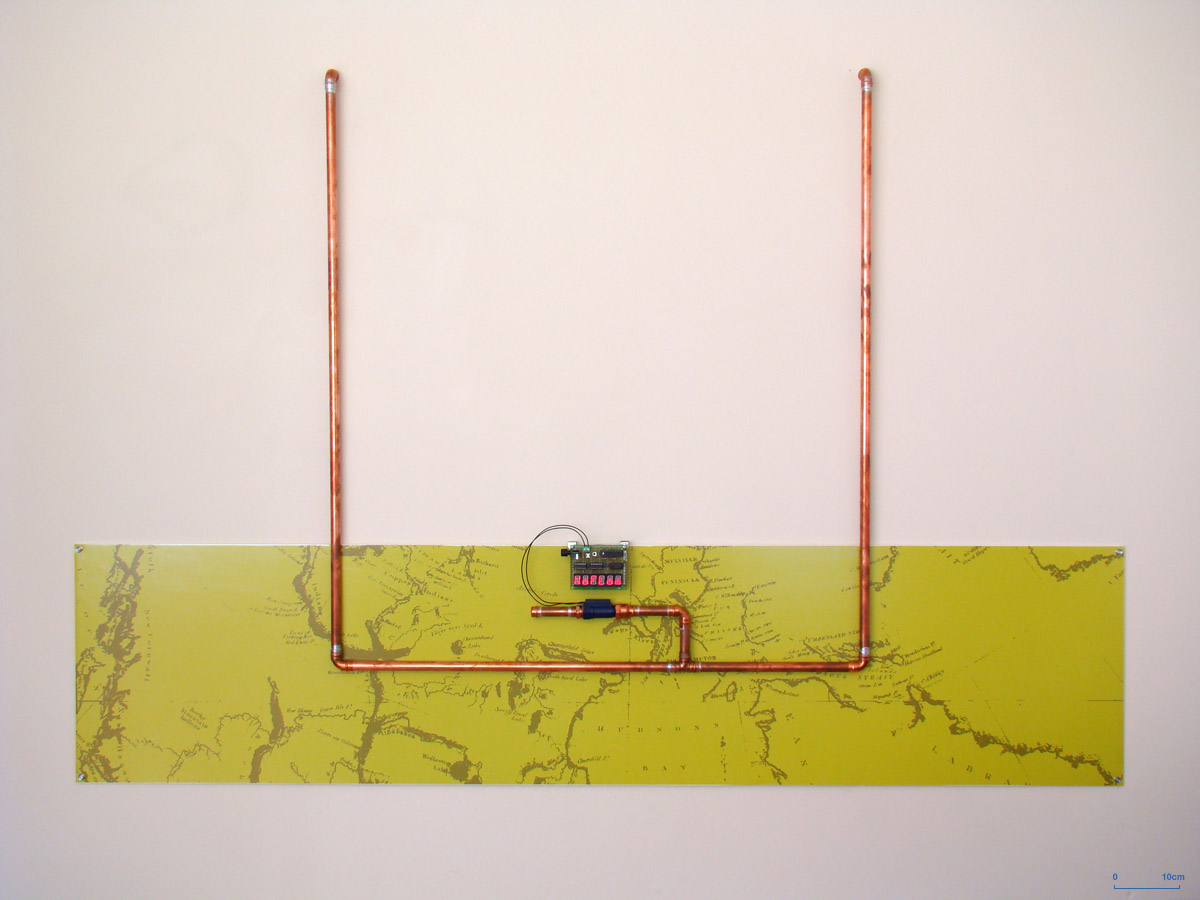
